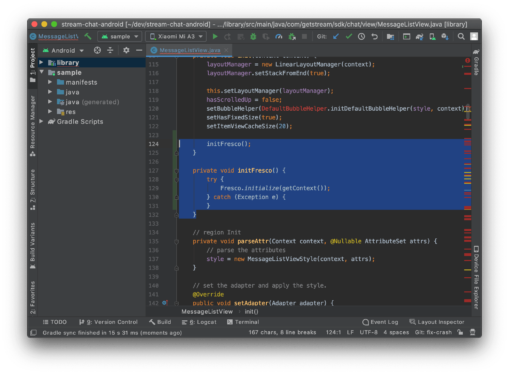
This tutorial will guide you through the process of installing Git on your system, setting up a new GitHub account, integrating it with an Android Studio project, and performing various Git operations like committing, pushing, pulling, branching, and merging. It will also cover resolving merge conflicts, viewing commit history, creating and managing pull requests, using Git stash and cherry-pick, and managing ignored files. This tutorial will help developers to efficiently use Git in Android Studio for source code management and collaboration during software development.
Git Installation
Let us now look at the various steps in the Git installation. Download the latest version of Git and choose the 64/32 bit version. After the file is downloaded, install it in the system. Once installed, select “Launch the Git Bash,” then click on “finish.” Now the Git Bash is launched.
https://dzone.com/articles/easy-and-fast-integration-github-in-android-studio


